7 More DIY Christmas Gift Ideas

Thursday, December 04, 2014

It's just a few weeks until Christmas, which means it's time for another round of easy, DIY gift ideas. My family has decided to have a no-gift holiday this year (instead we'll spend some extra money on delicious things to do and eat together). However, if I were giving gifts this year, these handmade ideas would be at the top of my list:


I love the utilitarian simplicity of this trivet made from wooden clothespins from the book, Sweet Paul Eat and Make.


Here's a craft I made for Country Living magazine years ago: Jewelry magnets. Vintage brooches and pins are glued to strong magnets to make decorative fridge magnets.


Colorful lanyards were used to make these camp-inspired crafts from Martha Stewart Living. If you wanted to avoid the plastic, you could use colored suede lace instead.


A super-practical gift, these simple drawstring bags are great for shoes, but I can think of dozens of other uses. Find the full tutorial for the drawstring shoe bags on The Purl Bee.


I couldn't resist this sweet idea for a DIY moon clock, which I found on the blog Hellobee. It could be a great gift for a kid or a grown-up (I know I'd love to receive it).


I love vintage linen tea towels, but they can be hard to find in good condition (and new ones seem to cost a small fortune). Make your own with directions from the blog Everyday Occasions. I'd stencil them en masse, so that I had a few extra gifts on-hand.


I came across this stone alphabet idea idea on Pinterest, which lead me to a Spanish blog. Based on the Google translation, the blogger just used markers to write on the stones--easy! It's sweet and simple idea for early readers.

Check out 7 DIY Christmas Gift Ideas from 2014.

7 DIY Christmas Gift Ideas

Sunday, November 17, 2013

The holidays are just around the corner, which has me thinking about gifts. If I had all the time in the world, I would make handmade gifts for all my nearest and dearest. Here are some easy, do-it-yourself gifts that would make great holiday gifts:


This mason jar soap dispenser is probably the most popular craft I ever made. Get the how-to instructions from Country Living's website.  


All you need to make this pretty necklace are some leftover fabric, wooden beads, and a needle and thread. Follow my step-by-step instructions for how to make your own. 


I've always loved books with compartments hidden within. Better Homes & Gardens shows you how to make a book box. 


Turn and old pair of jeans into a super-chic lunch bag following the instruction from Between the Lines.


The Purl Bee blog is chock-full of amazing projects you could make as gifts. I'm particularly fond of this pom-pom scarf--you can sew your own scarf with these directions.


You could spend $500 on a Hermes tassel key chain, or you could make your own with DIY directions for a tassel key chain from Lovely Indeed.


Got a drill? Your friend's cube would look a whole lot cooler with this clever pencil holder from Strawberry Chic. 

DIY Pinata Ornament

Friday, November 30, 2012


When my friends at Country Living asked me to create a Christmas craft for their Holiday Pinspiration Party page, I was happy to oblige. After noodling around with a few ornament ideas, I decided to try making a mini-pinata ornament. I was inspired by a glass pinata ornament at Paper Source and all the amazing pinata series on the Oh Happy Day blog. (My husband's love for all things Mexican was another source for this project.) The resulting ornament will have a prominent place on our tree this year.

Country Living wants to see what you've made! Post a picture of a holiday craft or decoration you've made onto Country Living's Facebook wall. They'll add your images to their Pinterest board to share more holiday pinspriation!

Here's how I made it:


Supplies:
- red, dark green and light green streamers
- ribbon
- lightweight cardboard (like a cereal box)
- scissors
- painter's or masking tape (mine just happens to be bright green)
- white craft glue (like Elmer's)

Instructions:
Step 1: Draw a pinata shape onto your cardboard and cut it out (I made a traditional burro, but you can get creative with your shape!). Trace the shape onto a second piece of cardboard and cut it out. Cut out strips of cardboard 1/2-inch to 3/4 wide and as long as your cardboard (you'll need several strips).
Step 2: Use the masking tape to affix the strips to the first pinata shape to create a border around the permieter (bend the cardboard as you reach each corner).

Step 3: Cut a length of ribbon; fold it in half and make a knot at the folded end. Cut a slit in the top of the pinata and slip the two ends of the folded, knotted ribbon through the slit (the knot will keep the ribbon from sliding out the slit).
Step 4: Tape the second pinata shape to the cardboard border to create a boxy three-dimensional pinata.

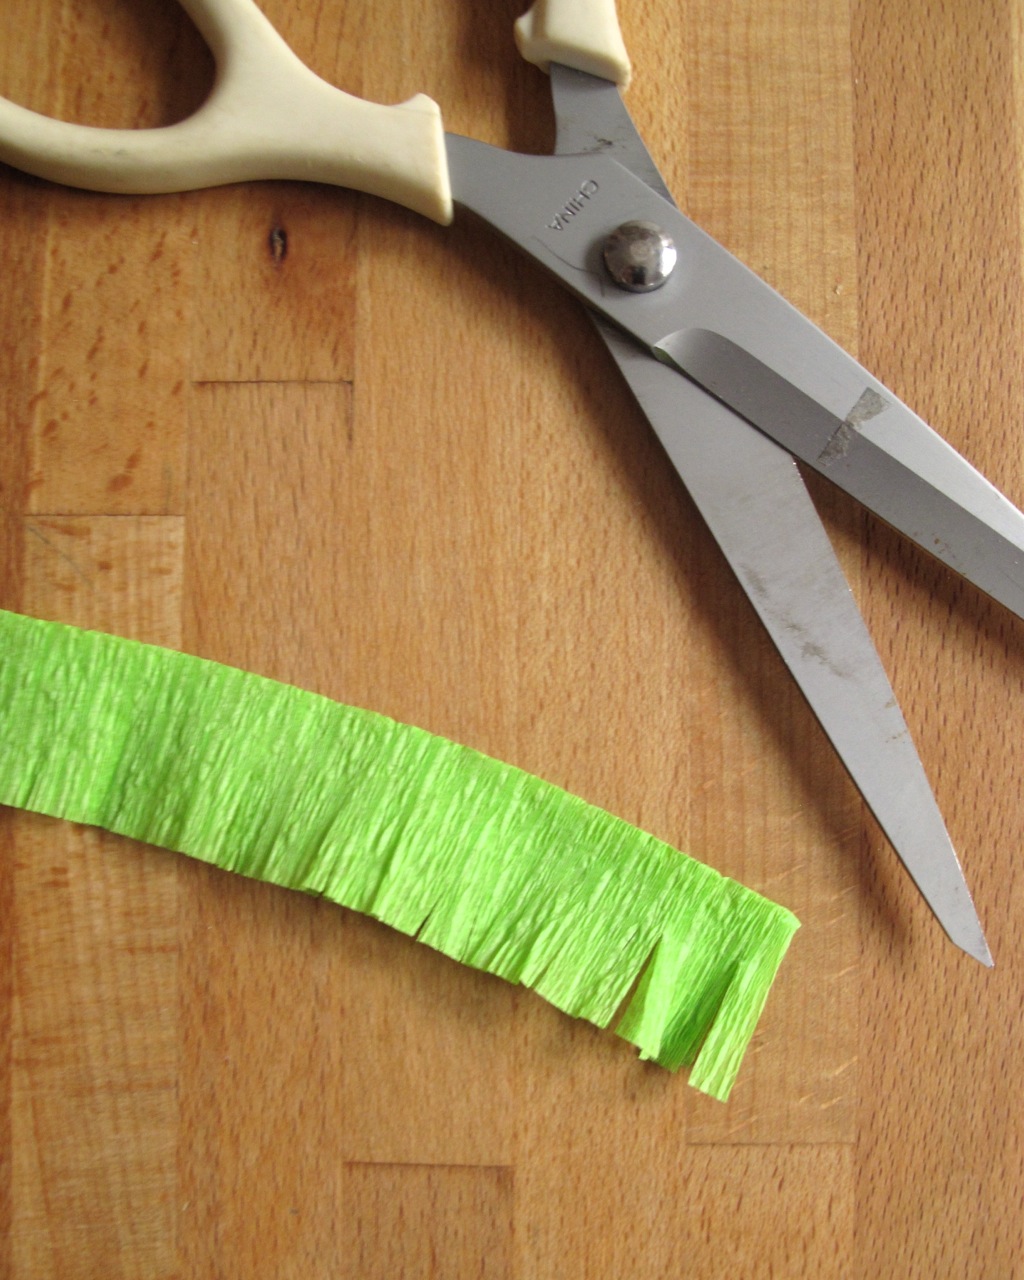
Step 5: Cut streamers into 8 to 10-inch lengths; fold them in half lengthwise and cut the open ends into a fringe. I used approximately 6 rows of each color.
Step 6: Begin gluing the frige to the cardboard pinata starting from the bottom and working your way up. Put small dabs of white glue on the cardboard and use the glue's top to spread them out into thin lines. Gently press the folded edge of the fringed streamer strips into the glue. Work up the body of the pinata, alternating colors every two rows or so.
Step 7: When you reach the top, you will need to add a few strips of streamer to cover the perimeter of the pinata.
Step 8: Continue adding fringe until you have covered the whole pinata.
 

the little house in the city © All rights reserved · Theme by Blog Milk · Blogger